Decide
Four situations at sea. Decide first, then read why.
Key points
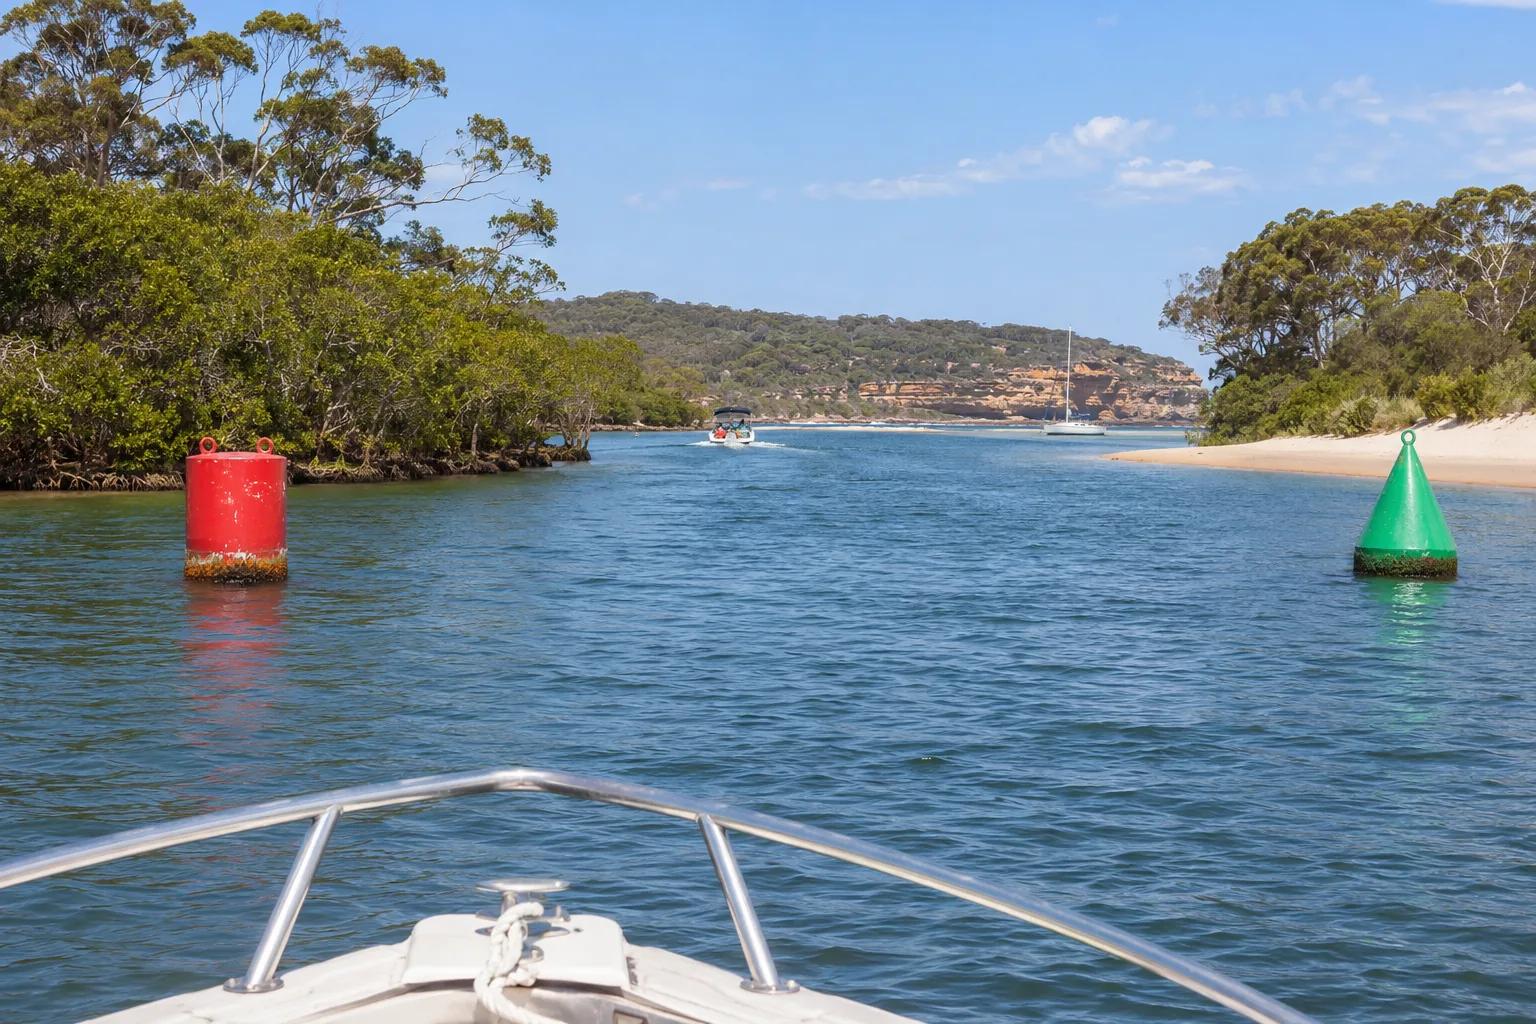
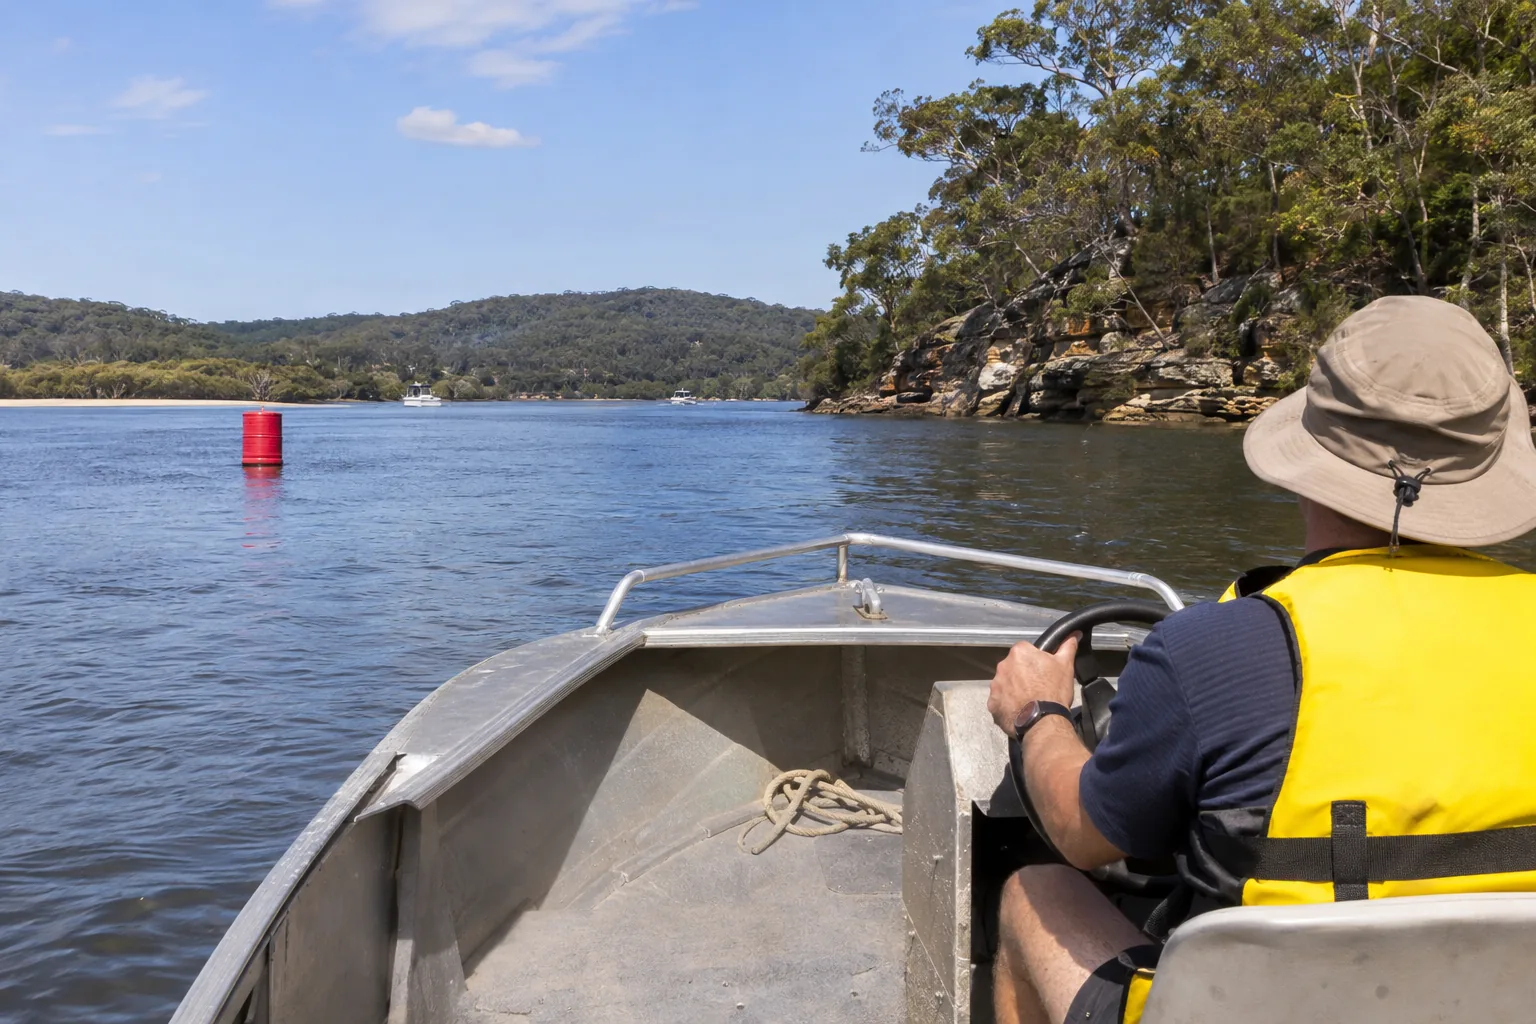
- Red left when heading upstreamComing from sea or going upstream: red to port, green to starboard.
- Heading downstream towards the sea reverses the sides.
- Red marks have a can-shaped buoy or topmark; green marks have a cone-shaped buoy or topmark.
- If lit, lateral marks flash in their own colour. Pass between paired marks.
- Check the charted direction of buoyage and use the current TfNSW guidance for unfamiliar water.
- Cardinal name = safe compass sideThe name gives the safe compass side: north's safe quadrant is between north-west and north-east of the mark. Use the bands if the cones are missing or hard to see.
- North: cones up, black above yellow; continuous quick white flashes.
- East: cone points apart, black-yellow-black; three quick white flashes.
- South: cones down, yellow above black; six quick white flashes plus a long flash.
- West: cone tips together, yellow-black-yellow; nine quick white flashes. All four may use very quick rather than quick flashes.
- Isolated danger and safe waterTwo black balls mark a danger; red-and-white vertical stripes mark navigable water around the mark.
- Isolated danger: black with a red band, two black balls and paired white flashes if lit. Pass clear, on either side as appropriate.
- Safe water: vertical red-and-white stripes, possibly a red ball topmark; white flashing light if lit.
- Keep a safe water mark to port when it shows a shipping-channel centre line or turning point.
- Yellow needs a second lookA special mark identifies a feature or area; check its shape and the chart.
- It may have a yellow X topmark. If lit, its light is yellow and may flash in any pattern.
- Features include tide poles, spoil grounds and underwater pipes.
- If used laterally, a can-shaped buoy is a port mark and a cone-shaped buoy is a starboard mark.
- Aquamark minibuoys are small red, yellow or green buoys. Follow their messages.
- Line up the leadsKeep the rear, higher mark directly above the front mark to follow the lead line.
- Travel directly towards or away from the aligned marks, using the chart.
- Identify a directional light before using its sectors: approaching red means too far left, green too far right, white the safe sector.
- Leads and directional lights guide your route; they do not replace checking local conditions.
- Bridge checks before you commitCheck the clearance signs, your full height and any blocked-span signal.
- Higher water can reduce clearance. Include poles and fittings, not just the cabin roof.
- Map bridge heights are measured at mean high water; actual conditions still matter.
- Ball-cone-ball by day, red-green-red at night: avoid that part of the channel.
- Never secure to a bridge or navigation aid without lawful authority.
Check what you have read
You turn upstream from the sea into a marked NSW channel. How should you pass a nearby red-and-green lateral pair?
Worked case: An upstream trip on the Hawkesbury River
You are planning a daylight trip upstream on the Hawkesbury. On this practice route, your chart shows paired lateral marks, a west cardinal by a shoal and a bridge farther on. Near the bridge you see ball, cone, ball above one span. A crew member suggests tying to a navigation beacon while you work out what to do.
Before you read the solution: what would you do?
True or false?
Decide each statement before you see the answer.
Six quick white flashes are the whole south-cardinal signal.
All yellow marks can be passed on either side.
The bridge fitted this morning, and I can tie to a nearby beacon if I need to wait.
Keep the rear, higher mark directly above the front mark to follow the lead line.
A north cardinal tells me the danger is north, so I go south.
Coming from sea or going upstream: red to port, green to starboard.
A special mark identifies a feature or area; check its shape and the chart.
I keep every red mark on my left, even heading out to sea.
Safe water all around means I can always pass a red-and-white mark either way.
Two black balls mark a danger; red-and-white vertical stripes mark navigable water around the mark.
Check the clearance signs, your full height and any blocked-span signal.
The name gives the safe compass side: north's safe quadrant is between north-west and north-east of the mark. Use the bands if the cones are missing or hard to see.
Exercise: Read a route one mark at a time
You are coming in from sea on a practice route in Port Hacking. Work out what each mark asks you to do.
Step by step
A single red can-shaped lateral mark is ahead. Which side of your boat should it pass on as you travel upstream?
Show the solution
Upstream in NSW, keep a red port mark on your port side. A single mark still defines a side of the channel.
Next is a black-yellow-black mark with its two cone points facing away from each other. Where do you pass?
Show the solution
It is an east cardinal. Pass on its eastern side; the name gives the safe compass side.
You identify a yellow cone-shaped buoy used as a lateral mark. Travelling upstream, where do you keep it?
Show the solution
A cone-shaped special buoy used laterally is treated as a starboard mark. Keep it to starboard upstream. Handbook, p. 114.
A bridge span displays ball, cone, ball in a vertical line. What next?
Show the solution
This is a blocked or closed signal. Clearance alone does not make that span available. Handbook, p. 115.
Now on your own
Now you are returning towards the sea. Solve these without the guided answers.
Which side of your boat should a single green lateral mark pass on when you travel downstream?
A white light repeats six quick flashes and one long flash. Which side of the mark is safe?
A red-and-white vertically striped mark identifies a shipping-channel turning point. Where should you keep it as you pass?
The return tide is higher than on your outward trip. What should you do before passing under the bridge?
Check: 10 questions
Questions from this subject, explained after each answer.
Free: lesson + 10 questions · Exam Pass: all 27 questions, unlimited practice tests, your mistakes retrained
The full explanation and the lessons for each programme item
Sources
- Boating Handbook 2026: Navigation marks and lateral marks, pp. 109–110 · checked
- Boating Handbook 2026: Cardinal marks, leads and other marks, pp. 111–115 · checked
- Boating Handbook 2026: Proper lookout — structures and clearance heights, p. 81 · checked
- Boating Handbook 2026: Bridges and navigation aids, p. 99 · checked
- Transport for NSW: Navigation marks · checked
Checked against the official sources on .