

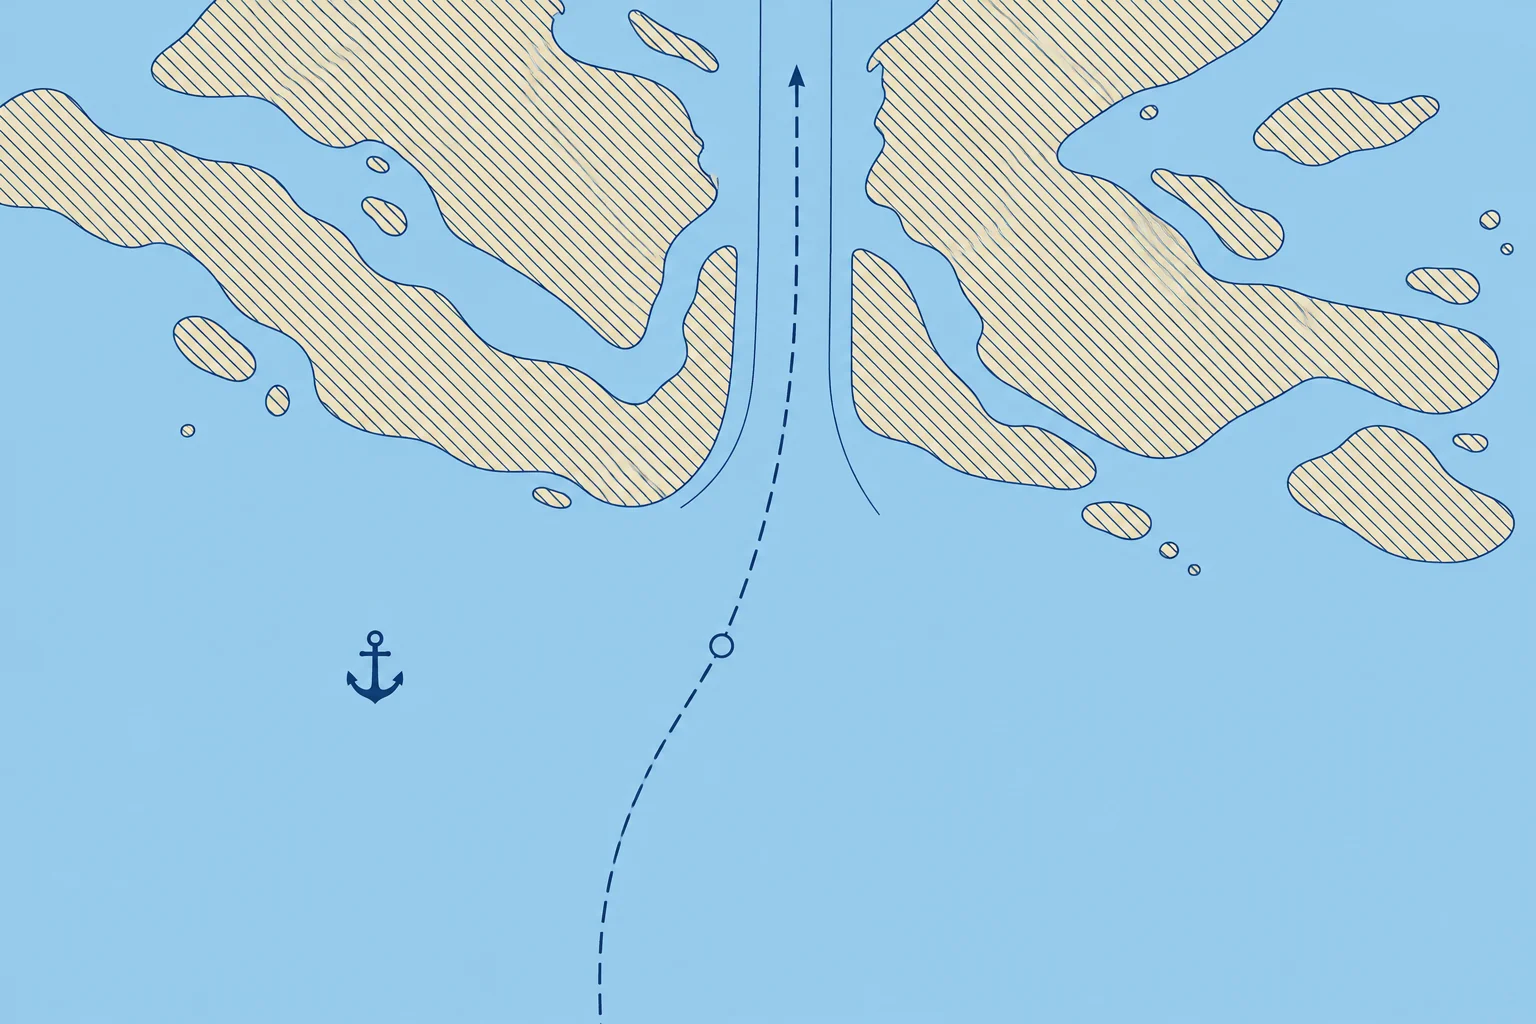
No-go areas, margins of safety, abort points and contingencies
1The lesson in plain words
A good plan marks where the ship must never go, how far she may stray, where you can still turn back, and what you will do if things go wrong.
No-go areas
Mark as no-go all water too shallow for your ship at the expected time, with the required under-keel clearance, plus other dangers and closed areas. On ECDIS, your safety contour does much of this; on paper charts, hatch them clearly. Where tide matters, no-go areas can change with time: note the times they open and close.
Margins of safety
Keep a margin of safety between the ship and each danger. Set cross-track limits (XTL), the permitted deviation on either side of the planned track, within that safe water. Allow for position uncertainty, traffic and ship handling. Mark clearing bearings and clearing ranges: bearing and distance limits that keep you clear of a charted danger.
Parallel indexing
On a relative-motion radar display, draw a parallel index (PI) line parallel to the planned ground track. Offset it from the own-ship origin by the intended perpendicular passing distance from a fixed, radar-conspicuous object. Its echo should move along the line. This monitors cross-track clearance; take independent fixes too. Plan wheel-over points, where you apply helm for each turn, using the ship's turning data.
Abort points
An abort point is a planned position where you decide whether to continue or use the agreed escape manoeuvre. The point of no return is where that escape is no longer safe. Mark them clearly; allow enough distance to complete the abort before losing the escape option. Agree triggers beforehand, such as poor visibility, a missing tug, a machinery fault or a closed berth.
Contingencies
Plan for what can fail: an engine or steering failure, a blackout, bad weather or a closed port. Mark contingency anchorages, alternative routes, emergency contacts and the bridge manning level for each stage. Before pilotage, compare your plan with the pilot's in the master–pilot exchange; the Working with tugs and pilots unit covers it.
2Key points
- 1
Mark no-go areas for your draught and UKC at the expected time, and when they change.
- 2
Set cross-track limits within safe water; use clearing bearings, ranges and parallel indexing to monitor clearance.
- 3
Mark wheel-over points, abort points and the point of no return on the chart.
- 4
Plan contingencies: anchorages, alternative routes, manning levels and the master–pilot exchange.
3Frequent mistakes
Wrong: Parallel indexing gives a fix of the ship's position.
Right: It shows whether you are on the planned line from one object. It is a monitoring tool; fix your position separately as well.
Wrong: Decide whether to abort when you get there.
Right: Agree the abort criteria in advance and mark the abort point. Past the point of no return there may be no safe way out.
4Practice case & exam keys
You are approaching the marked abort point for a channel transit. The plan requires two tugs; only one is ready. The pilot suggests entering because the berth is clear. What do you do?
Show the answer
Do not pass the abort point with an agreed safety condition unmet. Use the planned safe holding or abort manoeuvre before commitment, and inform the pilot and VTS. Re-appraise only from a safe position. Check the tidal window and manning before approving and briefing any revised plan.
Exam keys
- No-go areas from draught + UKC at the expected time; they can open and close with the tide.
- Margins of safety held by clearing bearings, clearing ranges and parallel indexing; wheel-over points.
- Abort point (decision to continue or abort) and point of no return; contingency anchorages and plans.
Finish this unit
When you've read it, match the terms, then answer three questions. Get them all right to finish the unit; opening the page alone doesn't count.
My notes for this unit
No notes