

Rope care, inspection and snap-back
1The lesson in plain words
Protect ropes from chafe and sun, finish their ends, inspect them often and replace them in time. Keep clear of loaded ropes and possible recoil paths.
Chafe
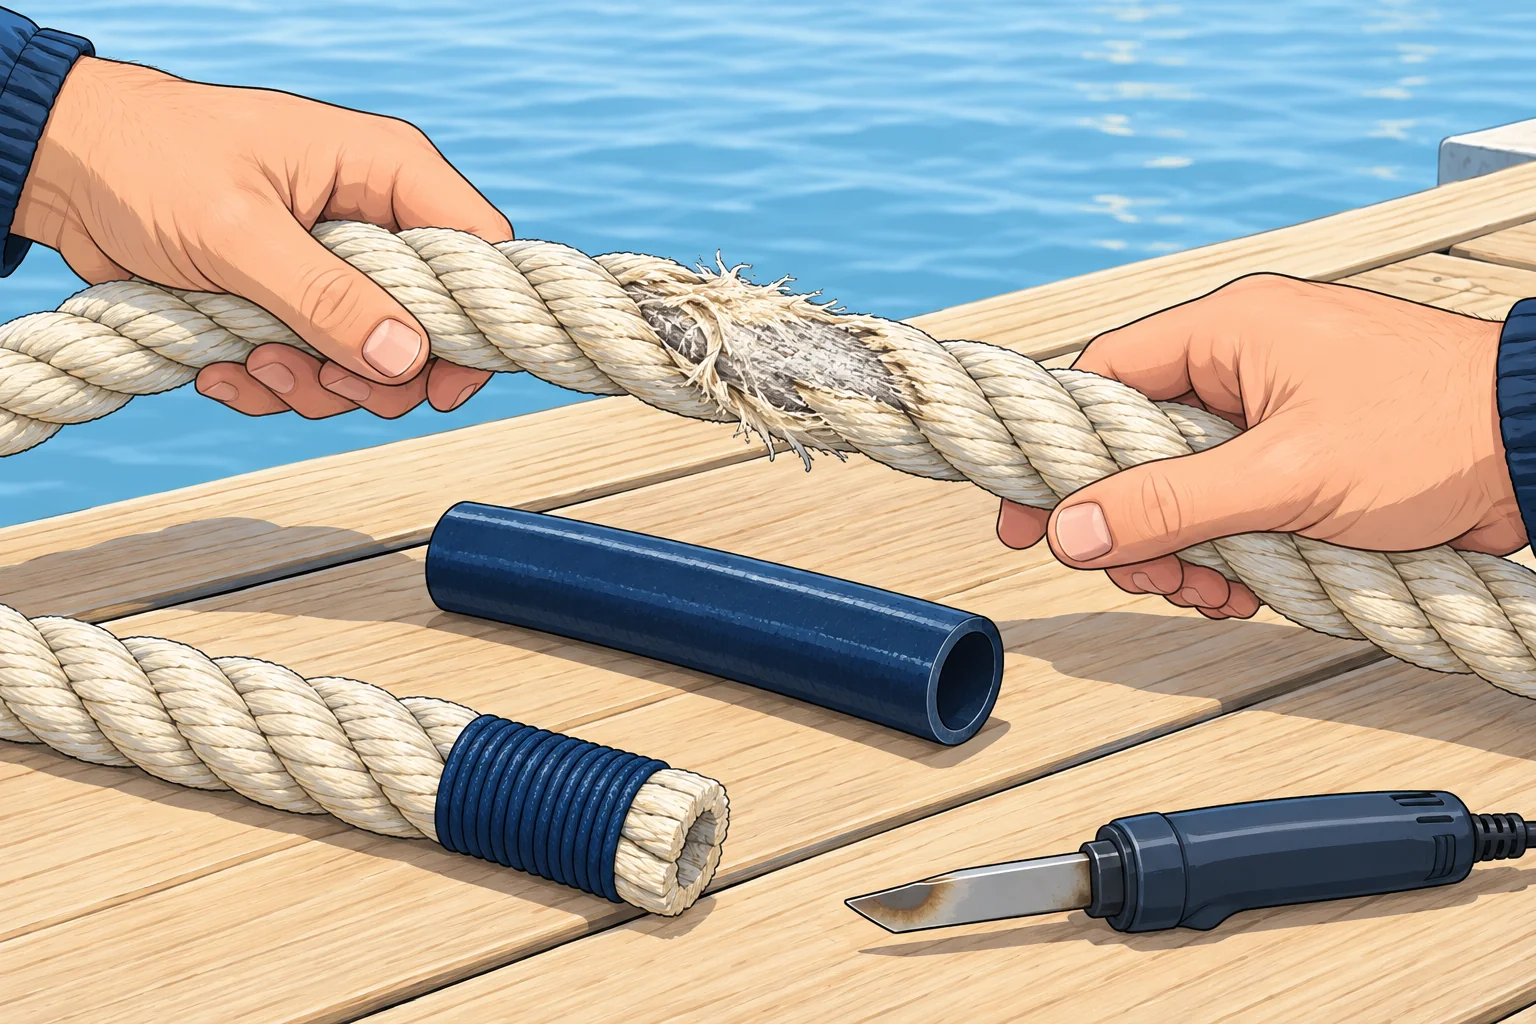
Chafe is wear from rubbing, and it destroys more rope than anything else. Use chafe guards (sleeves of hose or tough fabric) where mooring lines pass through fairleads, move a halyard's wear point by shortening or lengthening it a little, and remove sharp edges.
Cleaning and storage
Rinse salt and grit out with fresh water now and then, let lines dry, and store them coiled out of the sun. Salt crystals and sand cut fibres from the inside. Do not use strong chemicals.
Finishing the ends
A cut rope frays. A whipping is thin twine bound near the end. Heat-seal nylon, polyester or polypropylene only where the maker permits, then whip. Aramid does not melt-seal. Follow the maker for mixed-fibre and other specialist ropes. Tape is temporary. A back splice finishes three-strand rope.
Inspection
Look and feel along the whole rope. Warning signs: fuzz and broken fibres, hard or glazed shiny spots from friction heat, stiff or crunchy areas, thin or flattened places, a cover sliding on its core, and faded, powdery colour from sunlight. Remove doubtful rope from load-bearing service. Shorten or re-end only when damage is local and the remaining rope is sound.
Snap-back
At the same tension, greater stretch generally means more stored elastic energy. If a loaded rope breaks, slips or a fitting fails, rope and fittings can recoil violently. Fittings can redirect recoil beyond the original line. Keep clear of loaded ropes and fittings, never enter a bight (a loop), and avoid the inside of turns. Low-stretch rope is dangerous too. A bollard or coaming (a raised rim around a cockpit or opening) does not guarantee shelter.
2Step by step
Inspecting a rope
- 1
Secure the boat with sound lines, unload this rope, then wash and lay it out in good light.
Damage hides under grime.
- 2
Run the whole length through your hands, slowly.
Hard, soft or thin spots are often easier to feel than see.
- 3
Look closely at wear points: fairleads, clutches, sheaves, cleats and eyes.
Damage concentrates where the rope bends or rubs.
- 4
Check for glazing, broken fibres, fading and a loose cover.
These can indicate heat damage, chafe, UV exposure or cover movement. Assess the core as the maker directs.
- 5
Check splices and whippings are tight and complete.
A loose splice can pull out under load.
- 6
Retire doubtful rope; shorten or re-end only a sound remainder after local damage, as the maker permits.
Unknown damage is unsafe even for lighter loads. Note the date to track wear.
3Key points
- 1
Chafe is the main killer: guard fairleads, move wear points, remove sharp edges.
- 2
Rinse with fresh water, dry, store out of the sun.
- 3
Whip ends; heat-seal suitable fibres as the maker permits.
- 4
Snap-back can extend beyond the original line. Keep clear of loaded ropes, fittings and bights.
4Frequent mistakes
Wrong: Glazed, shiny patches show the rope is well worn in.
Right: Glazing is heat damage from friction. The fibres there are weakened.
Wrong: Stand behind the bollard to watch the mooring line closely.
Right: Fittings can redirect recoil beyond the rope’s original line. A bollard does not guarantee shelter; keep clear.
5Practice case & exam keys
Checking your mooring lines after a stormy night in harbour, you find one line hard and shiny where it ran through the bow fairlead, with broken fibres around it.
Show the answer
First secure the boat with a sound replacement line and unload the damaged one. Remove it from load-bearing service. Cut out local damage only if the maker permits, the rest is sound and enough length remains for a proper termination. Otherwise replace it. Check the fairlead for sharp edges. Protect the replacement at the fairlead.
Exam keys
- Chafe guards at fairleads; move wear points.
- Whip ends; heat-seal suitable fibres as the maker permits.
- Glazing and broken fibres: weakened rope.
- Snap-back can sweep beyond the line; keep clear of ropes, fittings and bights.
Finish this unit
When you've read it, match the terms, then answer three questions. Get them all right to finish the unit; opening the page alone doesn't count.
My notes for this unit
No notes