

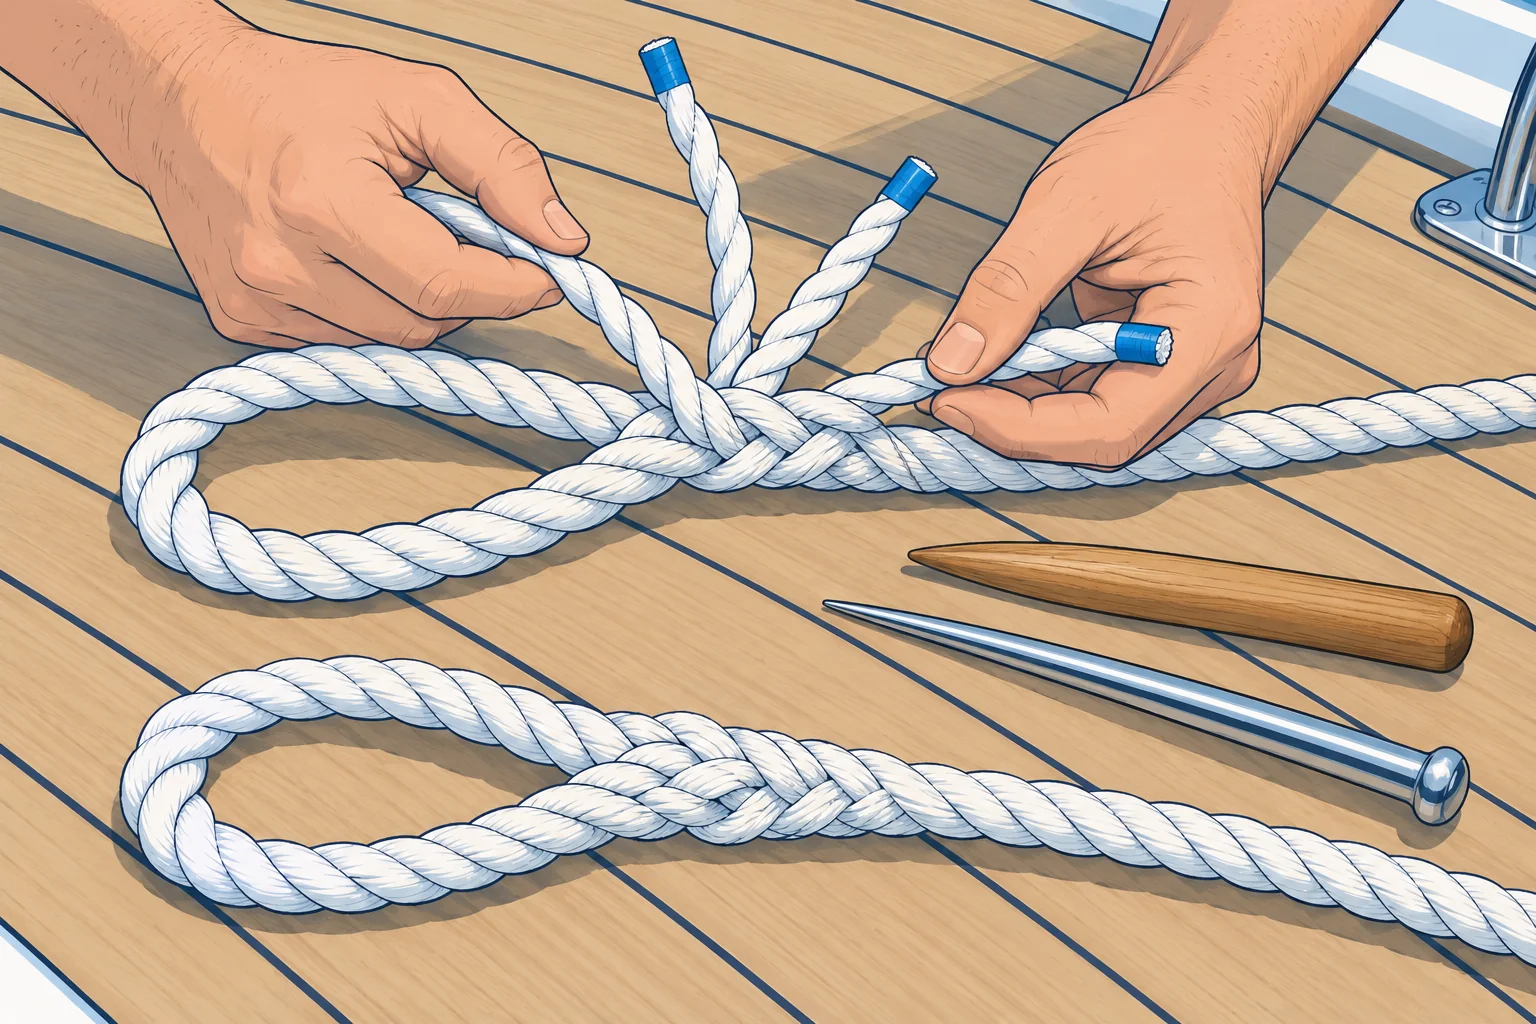
Basic splices: eye splice, back splice and braid splices
1The lesson in plain words
An eye splice in three-strand rope is a skill every skipper can learn. Braided ropes need a fid and the maker's own instructions.
Why splice
A splice joins or finishes rope by interweaving or burying its strands. A correctly made splice usually retains more strength than a knot. Its security depends on following the method for that rope. The eye splice makes a permanent loop; the back splice finishes an end; the short splice joins two ropes but makes them thicker.
Three-strand eye splice
Unlay (untwist) the strands for the maker’s specified length, whip or tape each end, and form the eye. Tuck each strand into the standing part (the intact rope beyond the unlaid end) against the lay: over one strand, under the next, so the tucks cross the rope's twist. Do all three strands in turn, then continue tucking.
How many tucks
Synthetic rope is slippery, so use at least five full tucks per strand for nylon and polyester, or more if the maker requires. Complete these with the full strands before any extra tapering tucks specified by the maker. Follow the maker’s dimensions for tapering (gradually reducing strand thickness) and tails (loose ends).
Back splice
For a back splice, first make a crown knot with the three strands at the end, then tuck them back down the rope as for an eye splice. The end becomes thicker and resists fraying. It may jam in blocks or fairleads, so check clearance; do not rely on it as a stopper.
Braided ropes
Braids are spliced by burying the rope inside itself, using a hollow fid (a splicing needle). Single-braid HMPE and braid-on-braid need different splice methods. Follow the rope maker's instructions exactly: a short or wrong splice in HMPE can slip out.
2Step by step
Eye splice in three-strand rope
- 1
Mark the maker’s unlay length. Bind the rope at that mark to stop further untwisting, then unlay the end up to the binding.
Leaves enough strand for the required full tucks and finishing.
- 2
Tape each strand end; form the eye the size you want.
Sealed ends are easier to tuck without unravelling.
- 3
Identify the tails and standing strands using the maker’s first-round diagram. Make the first tuck as shown, against the lay.
Crossing the rope’s twist locks the first tuck.
- 4
Complete the other two first-round tucks as shown. Each standing strand must be captured once; tails should not cross at the throat, where the eye rejoins the rope.
Completes the first full round evenly.
- 5
Keep tucking over one, under one. Make at least five full tucks with each complete strand; add more if the maker requires.
Synthetic rope needs extra tucks to stop it pulling out.
- 6
Pull each tuck snug and even; finish the taper and tails to the maker’s dimensions.
Even tension and the specified finish help keep the splice secure.
3Key points
- 1
A correctly made splice usually retains more strength than a knot.
- 2
Tuck against the lay: over one, under one.
- 3
At least five full tucks per complete strand in nylon or polyester; more if specified, before tapering.
- 4
Braids need a fid and the maker's instructions.
4Frequent mistakes
Wrong: Three tucks are enough in polyester.
Right: Use at least five full tucks per complete strand, or more if the maker specifies, before any tapering.
Wrong: Splice HMPE any way that looks right.
Right: Follow the maker's method and bury length. Short HMPE splices can slip out.
5Practice case & exam keys
A friend has made an eye in your three-strand polyester mooring line with three tucks per strand. It looks neat and holds when pulled by hand. Would you use it?
Show the answer
No. A hand pull does not prove a splice is secure. Remake it to the maker’s method and preparation length, with at least five full tucks per complete strand, or more if specified. Check the first round and finish the taper and tails to the maker’s dimensions before loading it.
Exam keys
- Tuck against the lay, over one, under one.
- At least five full tucks per complete nylon or polyester strand; more if specified, before tapering.
- Back splice starts with a crown knot.
- Braided splices need a fid and the maker's method.
Finish this unit
When you've read it, match the terms, then answer three questions. Get them all right to finish the unit; opening the page alone doesn't count.
My notes for this unit
No notes