
Navigation · Level R3 · 4 parts · about 12 min
Pilotage: transits, clearing bearings and harbour entry
4 short parts: The plan · Transits · Clearing bearings · Harbour entry. Each part explains the idea, then gives the points to remember, the common mistakes, a worked case and a practice question; the Academy unit adds all 25 check questions.
1 · The plan
The pilotage plan
Pilotage uses visible marks, depths and bearings close to hazards. Prepare ahead, then check your position and adapt the plan as you go.
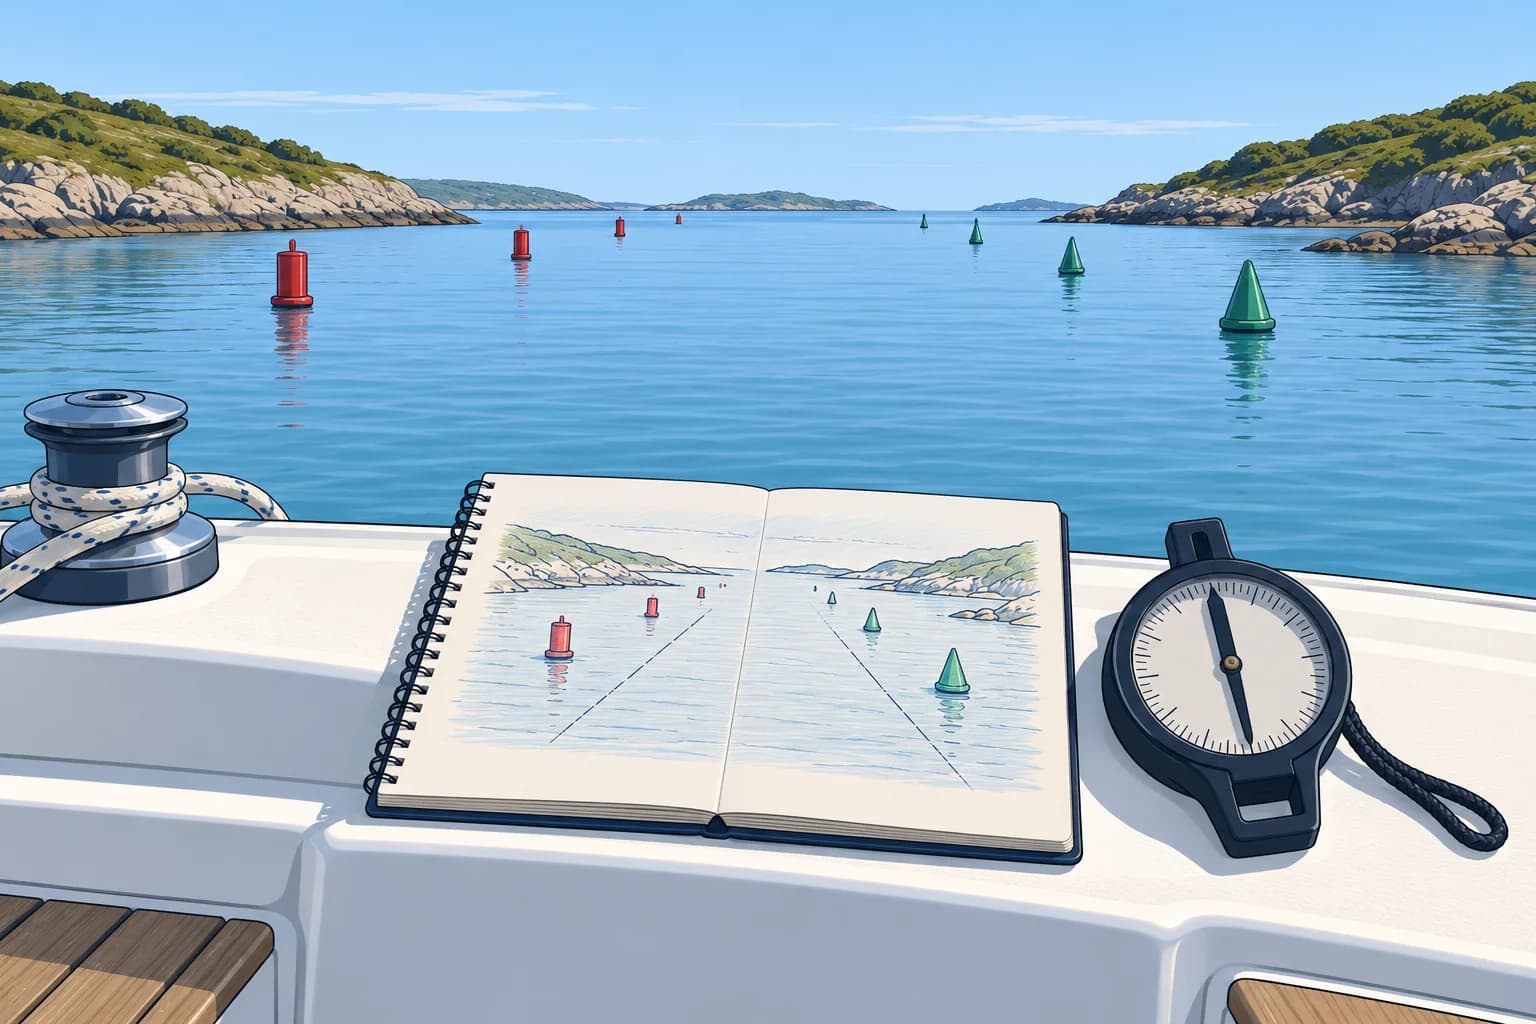
What pilotage is
Pilotage is navigation close to dangers, such as entering a harbour or passing between rocks, using marks you can see, depths and simple bearings. Things happen fast and you may be helming. So the thinking is done beforehand, at the chart table or at home, and carried on deck as a short written plan.
What goes in
Write marks in the order you will meet them. For each mark (a buoy, beacon or natural feature), note its appearance. For each leg (section of the route), note magnetic bearing, distance and expected depth. Record steering-compass courses allowing for deviation, compass error caused by the boat. Add safety lines (next two lessons), turning points and any time or tide you need. Add a simple sketch.
Tide and port rules
Use the shallowest charted depth on the route and the lowest height of tide expected during the pilotage (Tides unit). Compare their sum with your draught plus a safety margin. From the almanac or pilot book, note the VHF channel, traffic signals, speed limits, small-craft channels and reporting points. Check that the chart is up to date, and think about what will look different by night.
On deck
Brief the crew: who steers, who identifies marks, who watches the depth. Keep the plan where the navigator can see it. Tick off each mark as you pass and note the time. If a mark does not appear when expected, slow down or stop in safe water and work out why before going on.
Electronics in support
A plotter helps, but its chart may be less precise than your eyes, and satellite position can be a boat length or more out. Use it to confirm the plan, not to replace the marks. Agree an escape route in advance: the way back to open water if anything goes wrong.
Key figures
- Bearings in the plan
- Magnetic bearings; steering courses allow for compass deviation
- Order
- Marks and legs in the order you will meet them
- Least depth
- Least charted depth + lowest tide expected during pilotage
- Port information
- VHF channel, signals, speed limits, small-craft rules
Remember
- Prepare the chartwork before arrival; on deck, follow the plan and keep checking it against what you see.
- List marks and legs in order, with magnetic bearings, distances and depths.
- Note the port's VHF channel, signals, speed limits and small-craft rules.
- Mark missing or depth wrong: slow down or stop and find out why.
Common mistakes
Wrong: Work out the bearings as you go.
Right: Close to dangers there is no time. Prepare every bearing and distance before you arrive.
Wrong: Write the bearings in degrees true.
Right: Record magnetic bearings, plus steering-compass courses allowing for deviation.
Wrong: Keep going when an expected mark does not appear.
Right: Slow down or stop in safe water, check the log, depth and other marks, and find out why before going on.
Worked case
You approach an unfamiliar harbour at dusk with a tired crew. Your plan says a green buoy should appear 0.5 M after the fairway buoy, but after travelling 0.6 M over ground you still cannot see it.
Show the answer
Slow down and stay in the deep water you know. Check distance travelled over ground and time, and compare the depth with your plan. Look at the plotter and take bearings of other marks to confirm your position. The buoy may be unlit, hidden by background lights or moved. If you still cannot place yourself, take your escape route back to open water and try again with more light or a fresh plan.
Practice question
When should most of the pilotage work be done?
- Once you are inside the harbour
- Before arrival, at the chart table
- While steering, from the plotter
- Only when visibility gets poor
Show the answer
Answer: B. Close to dangers there is no time for chartwork. Prepare the plan beforehand.
2 · Transits
Transits, leading lines and sector lights
Two fixed marks in line give you a line that needs no compass. Learn to follow one, and how to get back onto it.

Transits
A transit is when two fixed objects appear one behind the other. You are then somewhere on the straight line through them, extended towards you. A transit needs no compass, so it has no compass error. Sensitivity depends on the marks: a nearby front mark and a more distant rear mark show sideways movement more clearly than two distant marks close together. Use charted, fixed objects; a buoy swings round its mooring.
Leading lines
A leading line is a transit chosen to lead you safely into or along a channel. It is often marked by two leading marks or leading lights, with the rear one higher than the front. The chart shows the line and its bearing. Stay on it until the turning point in your plan, then leave it as planned.
Getting back on
When approaching marks ahead, if they separate, steer towards the front mark, the nearer one: it has moved the way you need to go. Example: the front mark appears to the right of the rear mark, so steer to starboard until they line up again. In a cross-stream, point the bow into the stream enough to keep the marks aligned.
Looking astern
On departure, a back bearing is a compass bearing to a mark astern; a stern transit uses two fixed marks astern. With the bow pointing along the outward leg, look directly aft: nearer mark left of farther means correct to starboard; nearer mark right means correct to port. Allow for stream and keep checking alignment. Practise in safe water. For example, departing on 225°M, keep the mark astern bearing 045°M; compass error still applies.
Sector lights
At night many entrances use a sector light: one light that shows a different colour depending on the direction you see it from. A narrow white sector usually marks the safe line, with red on one side and green on the other. The chart shows which colour is on which side; there is no single rule. Light characters are in the IALA module.
Key figures
- Transit
- Two fixed marks in line; no compass error
- Off the line
- When approaching marks ahead, steer towards the nearer mark
- Leading marks or lights
- Rear mark higher than the front; bearing on the chart
- Sector light
- Colour depends on the direction you see it from
- Sector colours
- Check the chart for which colour lies on which side
Remember
- A transit avoids compass error. Choose fixed, charted marks with good separation in distance.
- When approaching marks ahead, steer towards the front mark if they separate.
- In a cross-stream, point the bow into the stream enough to keep the marks aligned.
- In a sector light, the white sector usually marks the safe line; check the chart.
Common mistakes
Wrong: With marks ahead, steer towards the rear mark when they separate.
Right: When approaching marks ahead, steer towards the front, nearer mark. It shows the side the line is on.
Wrong: A buoy in line with a hilltop makes a good transit.
Right: A buoy moves round its mooring. Use two fixed, charted objects.
Wrong: In a sector light, red is always on the port side.
Right: There is no single rule. Read the sector colours and bearings on the chart.
Worked case
You are entering on a leading line of 045°M. The front, lower mark appears to the left of the rear mark, and a cross-stream is setting you to the east. What do you do?
Show the answer
The front mark has moved left, so you are to the right of the line: steer to port, towards the front mark, until the marks line up. The stream sets you east, to starboard of your heading, so once back on the line hold the bow to port of 045°M as needed to keep the marks aligned. Keep watching the marks; adjust as soon as they start to open.
Practice question
With the leading marks ahead, the front mark appears to the right of the rear mark. Which way do you steer?
- To port, towards the rear mark
- To starboard, towards the front mark
- To port, away from the front mark
- Straight on until they line up
Show the answer
Answer: B. When approaching marks ahead, steer towards the front mark: here, correct to starboard to regain the line.
3 · Clearing bearings
Clearing bearings and clearing depths
A clearing bearing is a safe limit drawn on the chart. While your bearing of a mark stays on the safe side of it, you are clear of the danger.
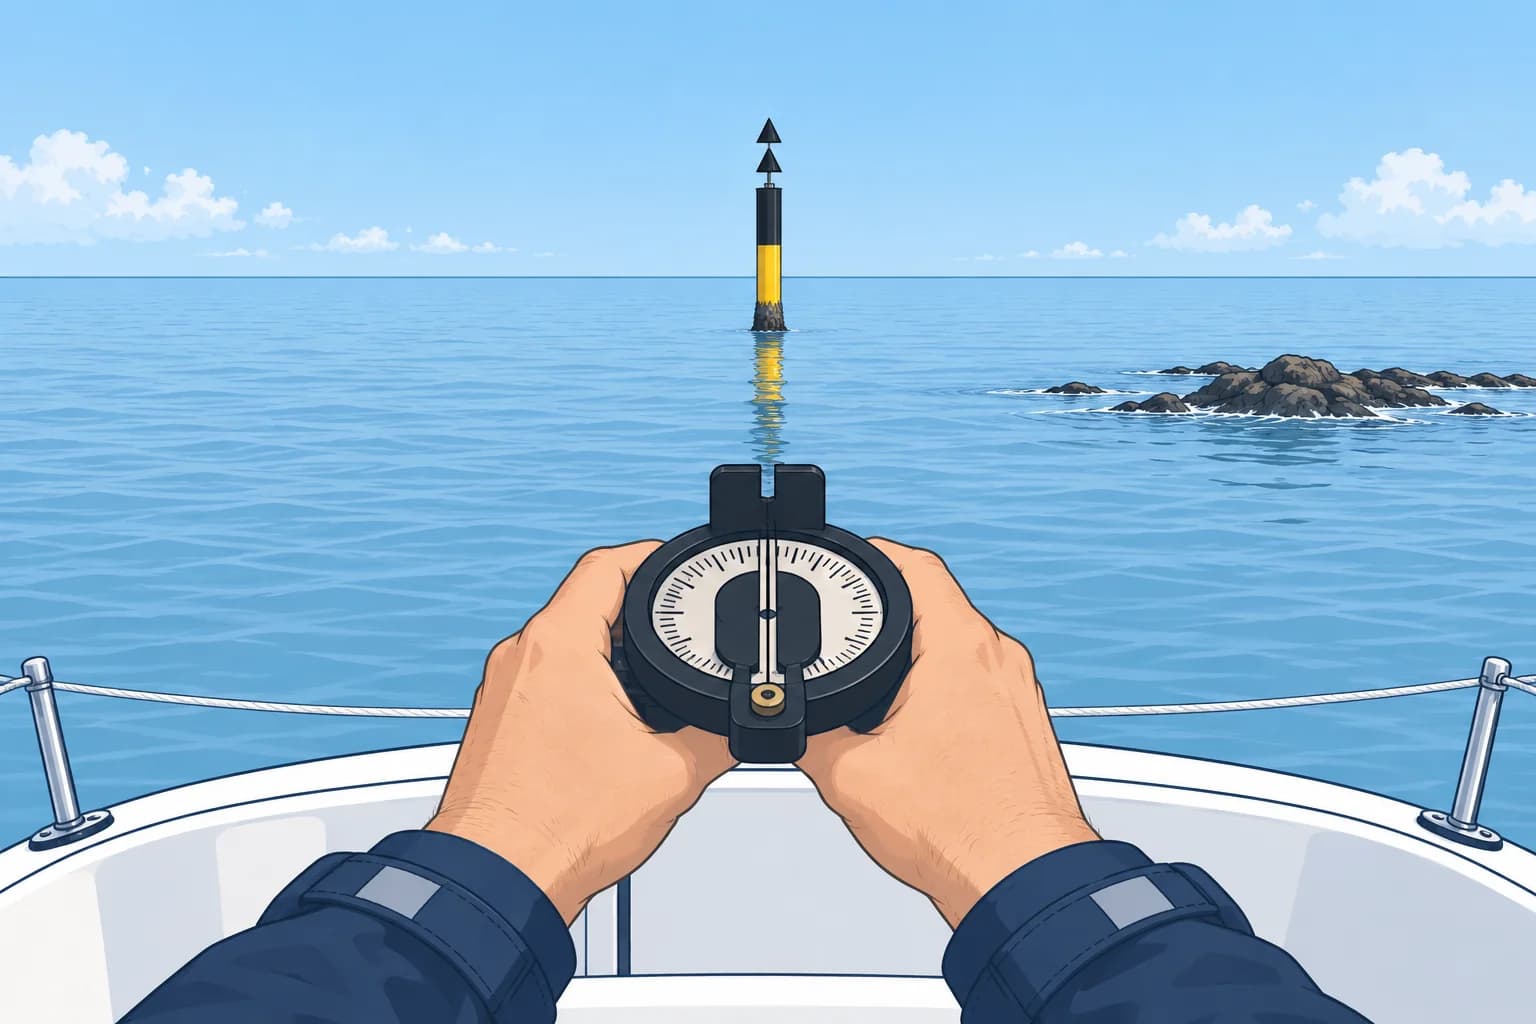
The idea
A clearing bearing (or danger bearing) is a line to a clearly identified mark, drawn to pass safely outside a danger. It becomes a simple rule: the bearing of the mark must be not less than (NLT) or not more than (NMT) a stated figure. You check it with a hand-bearing compass; no plotting is needed on deck.
Drawing it
On the chart, draw a line from the mark that passes outside the danger, with a margin for errors and stream. Hatch the danger side. Measure the bearing towards the mark, as you will see it from the boat, and convert it to magnetic.
NLT or NMT?
Imagine yourself on the danger side and take a bearing of the mark: is it more or less than the clearing bearing? Example: a mark lies ahead to the northeast, with rocks east of your approach. A line of 045°M to the mark passes west of the rocks. If you stray east, the mark bears less, say 040°M. So the rule is NLT 045°M.
Two together
For a charted leg towards a mark ahead, limits such as NLT 040°M and NMT 050°M define a permitted sector from 040°M to 050°M. A bearing of 045°M is inside; 035°M and 055°M are outside. Draw both with margins outside the relevant dangers. These limits protect against those dangers only; keep checking depth, position and the planned turning point.
Clearing depth
A clearing depth uses a charted contour, a line joining equal charted depths, outside the danger with a margin. Use it over a steadily sloping seabed. Add the height of tide to its charted depth to get a waterline-referenced limit. Match the sounder reference before comparing (next lesson), and update the limit as the tide changes. Stay deeper than the limit. Isolated steep rocks may give no warning.
Key figures
- NLT
- Bearing of the mark must be not less than the figure
- NMT
- Bearing of the mark must be not more than the figure
- Measured
- From the boat towards the mark, in degrees magnetic
- Margin
- Line passes outside the danger, never touching it
- Clearing depth
- Waterline limit = charted contour depth + height of tide
Remember
- A clearing bearing passes outside the danger with a margin; hatch the danger side.
- Measure it towards the mark, and convert it to magnetic for the hand-bearing compass.
- Decide NLT or NMT by imagining a bearing taken from the danger side.
- A clearing depth works only where the seabed slopes steadily.
Common mistakes
Wrong: Measure the bearing from the mark to the boat.
Right: Measure from the boat towards the mark, as you will see it through the compass.
Wrong: NLT always means the danger is to port.
Right: It depends on where the mark and the danger lie. Imagine a bearing from the danger side each time.
Wrong: Draw the line along the edge of the danger.
Right: Leave a margin for compass, steering and stream errors.
Worked case
You approach heading 270°M, with a charted beacon ahead to the west. Shoals lie north of your approach. A line of 268°M to the beacon passes safely south of them. What is the rule, and what do you do if the beacon bears 264°M?
Show the answer
From the shoal side, north of the line, the beacon bears less than 268°M, so the rule is NLT 268°M. A bearing of 264°M means you are north of the line, on the danger side. Turn to port, to the south, away from the shoals, until the beacon bears 268°M or more. Then resume the approach on the safe side.
Practice question
A mark lies ahead to the northeast and rocks lie east of your approach. The clearing line to the mark is 045°M. What is the rule?
- NMT 045°M
- NLT 225°M
- NMT 225°M
- NLT 045°M
Show the answer
Answer: D. If you stray east towards the rocks, the mark bears less than 045°M, so the bearing must be not less than 045°M.
4 · Harbour entry
Harbour entry and the depth sounder
Arrive prepared: know the signals and rules, have lines and fenders ready, and use the depth sounder as a running check on your plan.
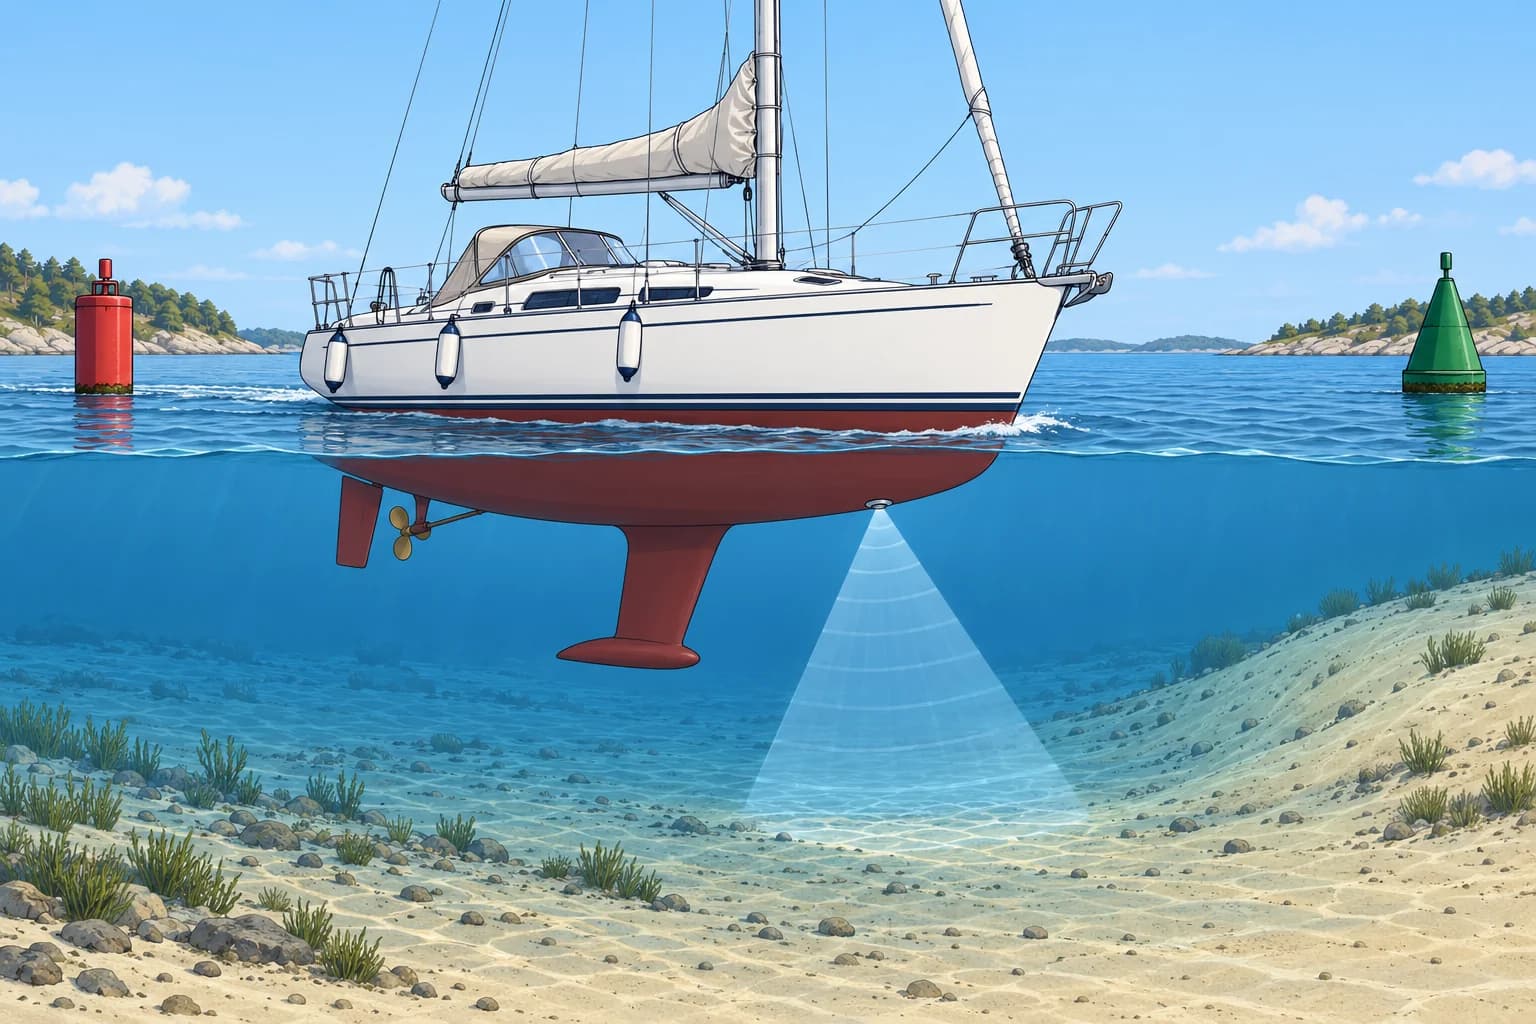
Before the entrance
Outside, in safe open water, brief the crew. If entering under power, start the engine and confirm propulsion before lowering or furling sails. Prepare lines and fenders, on both sides if unsure. If the almanac says so, call the harbour or marina on its VHF channel. Keep a good lookout: entrances are busy, and in a narrow channel a sailing vessel or one under 20 m must not impede a ship that can navigate only inside it (COLREG Rule 9).
Signals and rules
Many ports show traffic signals: three red lights in a vertical line mean do not proceed. Some ports add a light that lets small craft move outside the main channel. Read the port's own signals, speed limits and any small-craft channel (a route set aside for small boats) in the almanac or pilot book. Keep as near the channel's starboard edge as is safe and practicable.
The sounder
The echo sounder measures depth below its transducer, the sensor in the hull. An offset adjusts that reading to show depth below the keel or waterline. Set the correct vertical distance and check the manual: sign conventions vary. Confirm and label the display reference; do not rely on the sign alone.
Using depth
Compare each sounding with the plan. Waterline depth is about charted depth + height of tide; subtract draught for under-keel clearance. In poor visibility, a charted depth contour, a line joining equal charted depths, over a steady slope can help guide you, provided it leads through safe water. Use the correct sounder reference, adjust the target depth as the tide changes, and cross-check position with other available information. Set a shallow alarm with a margin.
When it does not fit
If the depth differs from your plan, slow down. If clearance is doubtful, stop the approach and return to known safe water if safe to do so. Check position, sounder reference and tide. Banks and buoys move: check Notices to Mariners and local notices before entering.
Key figures
- Three red lights, vertical
- Do not proceed
- Keel reference
- Raw transducer depth minus transducer-to-keel distance
- Waterline reference
- Raw transducer depth plus sensor depth below waterline
- Depth below waterline
- About charted depth + height of tide
- Narrow channel (Rule 9)
- Keep to starboard where safe; do not impede confined vessels
Remember
- Prepare the boat and crew outside, in open water.
- Three red lights in a vertical line: do not proceed. Read each port's own signals.
- Know your sounder offset: below transducer, below keel or below waterline.
- Unexpected depth: slow down. If clearance is doubtful, stop the approach and seek known safe water.
Common mistakes
Wrong: The sounder always shows the depth under the keel.
Right: It shows depth below the transducer unless an offset is set. Check and label which one.
Wrong: Three red lights mean proceed with caution.
Right: Three red lights in a vertical line mean do not proceed.
Wrong: Rig fenders and lines once inside the entrance.
Right: Do it outside in open water, so the crew is free to look out and handle the boat inside.
Worked case
You need at least 0.8 m under the keel. Your sounder has no offset and reads 1.9 m; the transducer is 0.4 m below the waterline. Draught is 1.8 m. Charted depth is 1.5 m and tide height 1.2 m. Do you continue?
Show the answer
Expected reading: 1.5 + 1.2 − 0.4 = 2.3 m. Actual clearance: 1.9 + 0.4 − 1.8 = 0.5 m, below your 0.8 m minimum. Do not continue the approach. Slow or stop where safe, check position, sounder reference and tide, and use your planned escape route if needed.
Practice question
The sounder has no offset and reads 3.0 m. The transducer is 0.5 m below the waterline and your draught is 1.9 m. How much water is under the keel?
- 2.5 m
- 1.1 m
- 1.6 m
- 3.5 m
Show the answer
Answer: C. Depth below the waterline = 3.0 + 0.5 = 3.5 m. Under the keel = 3.5 − 1.9 = 1.6 m.